Whipped Jasmine Body Butter Recipe | None Greasy
- naavaramirez
- Oct 27, 2025
- 3 min read
Updated: Oct 30, 2025
I try to take as much of the unnecessary stuff out of what goes on our skin as I can—and quite honestly, it’s just fun having the skill to make my own body butter. There’s something grounding about knowing exactly what’s in the jar sitting on your bathroom shelf.
I’ve never been a big lotion person. Lotions usually have more water and preservatives than I like to use, so I skip them altogether. Instead, I love creating rich, whipped body butters that melt right into the skin and leave it glowing without feeling greasy.
Below is one of my favorite combinations—a Jasmine Whipped Body Butter that’s silky, moisturizing, and customizable to your liking.
Ingredients
Base Butters
8 to 12 oz Shea Butter
4 to 6 oz Mango Butter
1 to 3 grams A small piece of Coco Butter (helps with firmness and structure)
Carrier Oils (Main Blend)
Sunflower Oil and Extra Virgin Olive Oil, blended 80% to 20%
(Sunflower oil is lightweight and rich in vitamin E, while olive oil adds a bit more richness.)
Special Add-Ins
½ tablespoon Castor Oil (optional—it’s very thick, so adjust to your preference)
½ tablespoon Rosehip Oil
1 tablespoon Vitamin E Oil (helps preserve freshness)
1 tablespoon Vegetable Glycerin (for added hydration)
1 tablespoon Apricot Seed Oil
1 tablespoon Jojoba Oil
Arrowroot Powder, to aid in faster absorption (add gradually until you reach your preferred texture)
Jasmine Essential Oil, or any essential oil of your choice—adjust the amount based on your batch size and scent preference
Equipment You’ll Need
A double boiler (or a heat-safe bowl set over simmering water)
A hand mixer or blender
A spatula or spoon
A freezer (optional, for cooling faster)
Clean, airtight containers for storing (I like lock-lid jars I already have around the house)
Method
Chop and Melt the Butters
Start by chopping your shea and mango butter into smaller chunks so they melt faster. Add them to your double boiler along with the small piece of coco butter.
Melt Gently
Let them melt just until most of the pieces are liquid. It’s okay if a few small chunks remain—this helps the mixture cool faster and keeps your oils from getting too hot( overheating can make it take a long time to cook down).
Remove from Heat and Add Oils
Once melted, remove from heat. Stir in your oil blend (sunflower + olive), followed by castor, rosehip, vitamin E, glycerin, apricot seed, and jojoba. Mix gently to combine.
Cool Completely
Let the mixture cool until it begins to solidify around the edges. You can pop it in the freezer for 10–15 minutes to speed up the process.
Whip Until Fluffy
Using your hand mixer, whip the mixture until light and creamy. When you think you’re done—whip it again. The more air you incorporate, the lighter and smoother your body butter will be.
Add Arrowroot and Essential Oil
Sprinkle in arrowroot powder a little at a time while mixing. Then add your jasmine essential oil (or whatever scent you love) and whip again until fully blended.
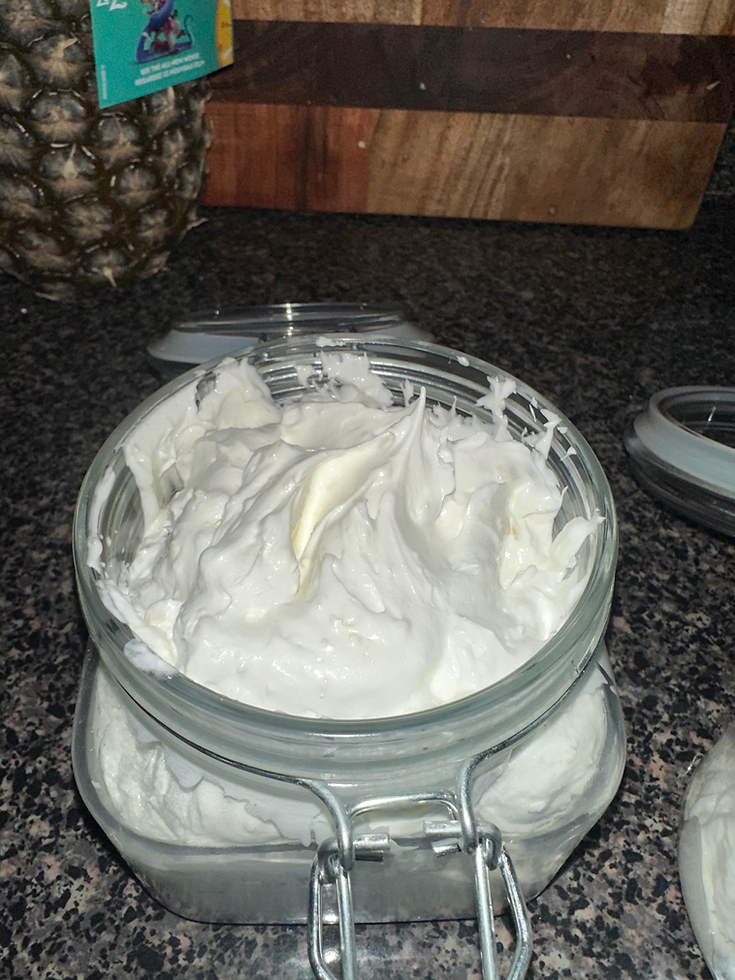
Scoop and Store
Spoon your whipped butter into a clean, airtight container. Keep it in a cool, dry place away from direct sunlight.
Tips & Notes
Texture Adjustments: The more oil you add, the softer and looser your final butter will be. If you prefer a firmer texture, reduce the oils slightly or add a bit more butter.
Scent Variations: For a calming nighttime blend, try lavender or chamomile essential oils. For an uplifting daytime option, go with sweet orange or ylang-ylang.
Absorption Tip: If your body butter feels too greasy, add a touch more arrowroot powder—it helps your skin absorb it faster.
Shelf Life: Because this recipe contains no water, it can last 6–9 months when stored properly.

Final Thoughts
Making your own body butter is not just about skincare—it’s about reconnecting with what you put on your body. I love how simple, intentional, and deeply satisfying it feels to make something so nourishing from scratch.
As always—happy making!
With love,
Naava
Here’s the link to the products I use to make my body care/skincare products.
Some of the links I share are affiliate links, which means I may earn a small commission if you make a purchase through them — at no extra cost to you. Your support helps me continue sharing my years of trial, error, and experience for free. Thank you for being part of this journey!
Comments