
Homemade Cinnamon Rolls with Vanilla Bean Cream Cheese Icing
- naavaramirez
- Feb 13, 2025
- 4 min read
Updated: May 10, 2025
There’s just something about homemade cinnamon rolls—the warmth, the rich aroma of cinnamon and butter filling the kitchen, and that first bite of soft, pillowy dough swirled with caramelized cinnamon sugar. This is comfort food at its finest, but with a mindful approach.
For those of us who love to nourish our bodies while still indulging in life’s simple pleasures, making cinnamon rolls from scratch is a way to connect with real ingredients and elevate a classic treat. No preservatives, no artificial flavors—just wholesome, high-quality ingredients that create something truly special.
This recipe takes a traditional cinnamon roll approach, using buttermilk for tenderness, a touch of nutmeg for depth, and a rich vanilla bean cream cheese icing that melts perfectly over the warm rolls. Whether you’re making these for a cozy weekend breakfast or a special occasion, they’re sure to bring joy to your kitchen.
Why Make Your Own Cinnamon Rolls?
If you’ve ever had a store-bought cinnamon roll and felt like it was missing something, you’re not alone. Many mass-produced rolls use artificial flavors and excessive amounts of sugar to compensate for a lack of real ingredients. Making them at home means:
✔️ Better Ingredients—No preservatives, no artificial flavors—just real butter, fresh eggs, and high-quality spices.
✔️Customizable Sweetness—You control the sugar level and can even swap in unrefined sweeteners if you prefer.
✔️Healthier Alternative—While still indulgent, homemade versions allow for better quality fats, less processed sugars, and the ability to tweak ingredients for dietary needs.
Ingredients You’ll Need
For the Dough:
• ½ cup (1 stick) unsalted butter
• 1 1/4 cup buttermilk, warmed (115-120°F)
• ½ cup granulated sugar, divided
• ¼ teaspoons (1 packet) active dry or instant yeast
• 1 large egg + 1 egg yolk
• 4¾ to 5 cups all-purpose flour (plus more for dusting)
• 1 teaspoon salt of choice
For the Filling:
• 1 cup packed brown sugar
• 1 tablespoon ground cinnamon
• 1 teaspoon ground nutmeg
• 1/2 stick (4 tablespoons) unsalted butter, softened
• 1/3 cup heavy whipping cream (for drizzling before baking)
For the Cream Cheese Icing:
• 8 ounces cream cheese, softened
• 1/2 stick (4 tablespoons) unsalted butter, softened
• 2 cups powdered sugar
• 2 teaspoons vanilla bean extract
• 1/2 teaspoon water (optional)
• 1 teaspoon buttermilk powder
Step-by-Step: How to Make the Best Homemade Cinnamon Rolls
Step 1: Prepare the Dough
1. Melt the butter and combine it with the warm buttermilk. Stir in half of the sugar and sprinkle the yeast over the top. Let it sit for 5-10 minutes until foamy.
2. Whisk in the egg and egg yolk.
3. In a large mixing bowl, combine 4¾ cups flour with the remaining sugar and salt. Gradually add the wet ingredients, mixing until a soft dough forms.
4. Knead the dough for 8-10 minutes until smooth and elastic, adding more flour as needed.
5. Place the dough in a greased bowl, cover with a damp cloth, and let it rise for 1½ to 2 hours, or until doubled in size.
Step 2: Make the Filling
1. In small bowl, mix the brown sugar, cinnamon, and nutmeg.
2. Roll out the dough into a 12x18-inch rectangle on a lightly floured surface.
3. Spread the softened butter evenly over the dough, then sprinkle the cinnamon sugar mixture on top.
Step 3: Roll, Slice & Second Rise
1. Tightly roll the dough from the long side into a log. Slice into 12 even rolls.
2. Place rolls into a greased 9x13-inch baking dish. Cover and let rise for another 30-45 minutes.
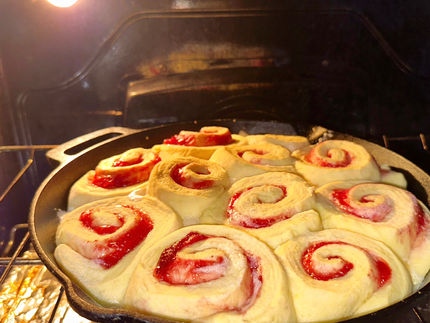
Step 4: Bake to Perfection
1. Preheat your oven to 350°F.
2. Just before baking, pour the heavy cream evenly over the rolls—his keeps them extra soft and gooey.
3. Cover with foil for the first 10 minutes
4.Bake for 25-30 minutes, or until golden brown.
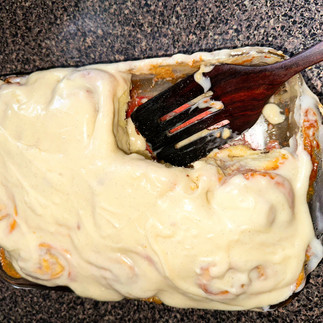
Step 5: Make the Vanilla Bean Cream Cheese Icing
1. In a mixing bowl, beat together the cream cheese and butter until smooth.
2. Add the powdered sugar, vanilla bean extract, and buttermilk powder. Beat until creamy.
3. If needed, add a small splash of water for a thinner consistency.
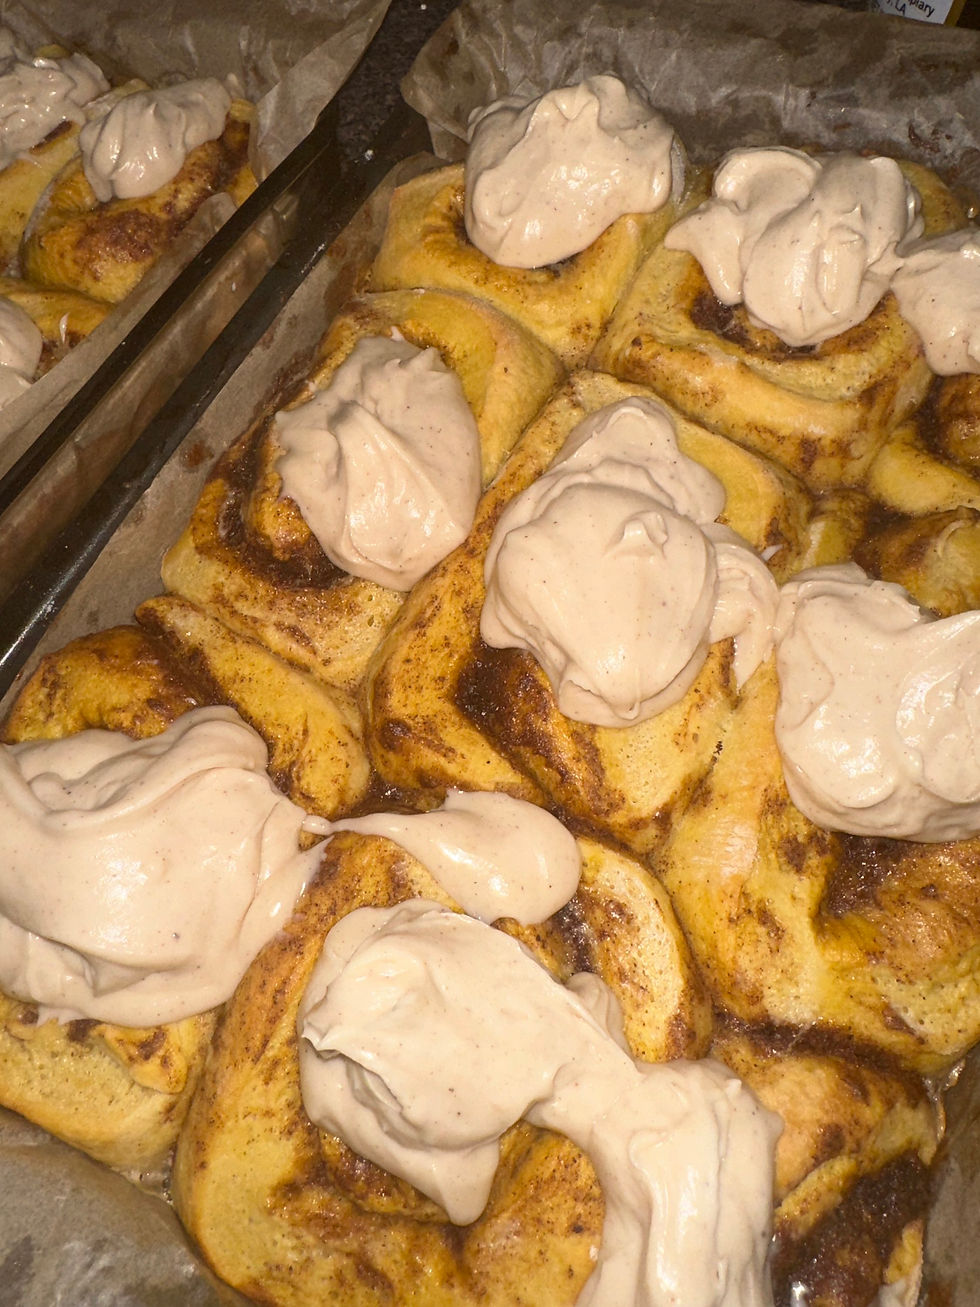
Step 6: Frost & Enjoy
Let the cinnamon rolls cool for about 10 minutes before slathering on the icing. The warmth from the rolls will slightly melt the frosting, creating that irresistible, glossy finish.
Tips for Perfect Cinnamon Rolls Every Time
✔️ Use Room Temperature Ingredients— This helps everything blend smoothly and ensures even rising.
✔️Let the Dough Fully Rise— Rushing the rise time will lead to dense rolls. Be patient!
✔️Don’t Skip the Heavy Cream—This trick makes the rolls incredibly soft and gooey.
✔️Use High-Quality Spices— Freshly ground cinnamon and nutmeg make a huge difference in flavor.
✔️Adjust to your needs— for example I prefer to work my butter into my flour, sugar, and salt mixture before I add the bloomed mixture (when I have the extra time). And I usually knead the dough by hand but if you have a nice blender use it if you would like.
A Nourishing Treat for Any Occasion
These homemade cinnamon rolls aren’t just a treat—they’re an experience. They bring warmth, comfort, and that perfect balance of sweetness and spice. Whether you’re making them for a family brunch, a special holiday, or simply because you’re craving something cozy, they’ll quickly become a favorite in your home.
So, go ahead—gather your ingredients, roll up your sleeves, and create something truly special. And when you do, I’d love to hear about it! Share your creations in the comments or tag me on Instagram @NaavasNourishingGarden or @NaQuitaLeaRamirez.
Happy baking!

Disclaimer:
I am not a doctor, nutritionist, or medical professional. The information shared in this post is for informational and entertainment purposes only and should not be taken as medical advice. Always consult with a qualified healthcare provider before making any changes to your diet, health routine, or using herbal remedies.
Additionally, this post may contain affiliate links, which means I may earn a small commission at no extra cost to you if you make a purchase through them. I only recommend products I personally use and love. Thank you for supporting Naava’s Nourishing Garden!
Comments